Choose a file by the permitted task, not its outline alone. Make small changes to a well-fitting cover, protect the finish, and stop if the nail becomes unstable or uncomfortable.
Confirm that your exact set can be reshaped
KISS’s nail FAQ permits trimming and filing its nails to adjust length or shape, with care around jewels and designs. That is useful product guidance, but it does not establish that every press-on finish tolerates the same change. Check the instructions for your set or ask its maker before altering it.
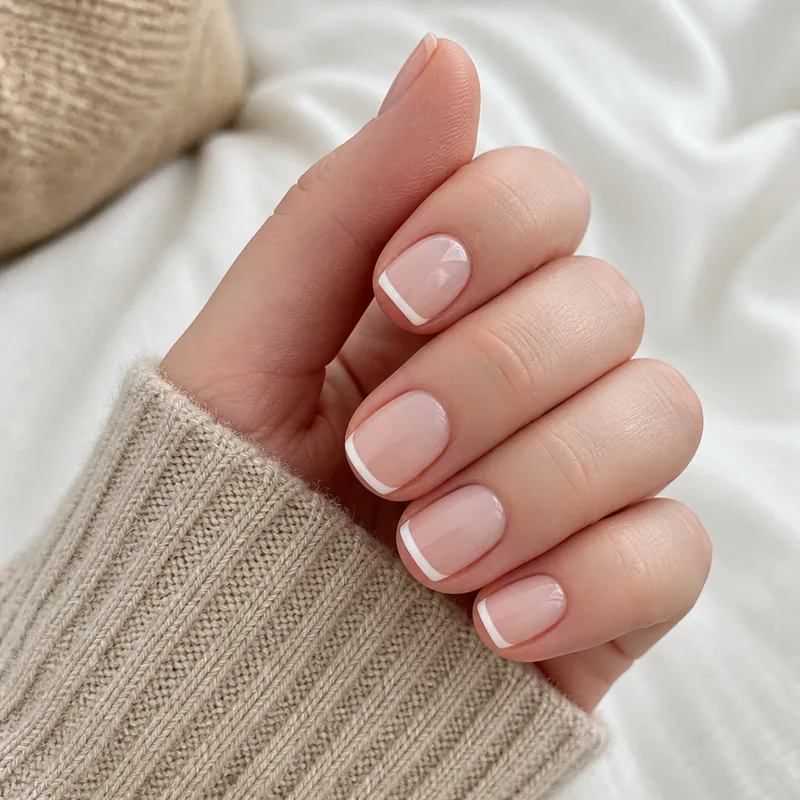
Identify where the decoration ends. Shortening a French tip changes the white band; reducing a decorated edge may remove part of the design. If the change would reach a raised accent, seam, or unsupported coating, choose a more suitable length instead of assuming you can recreate the factory finish.
A curved nail file and its grit describe different features
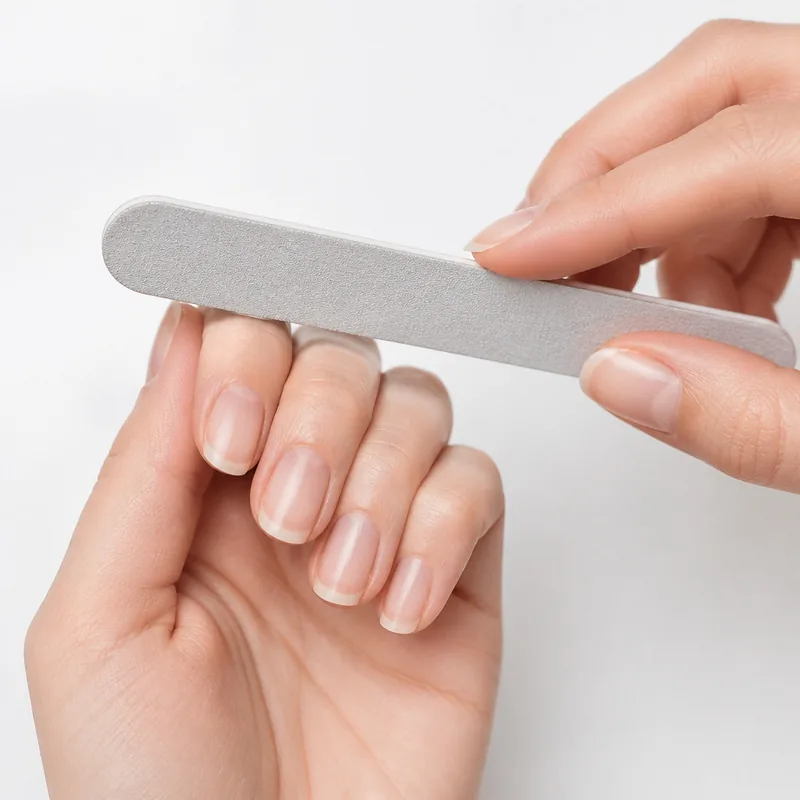
Curved describes the outline of the board. Grit describes its abrasive surface. A curved file does not automatically make a gentler cut, and it does not match or change the underside curve of a press-on. Choose a shape you can control while keeping the abrasive surface away from skin.
Gelcare’s Curved File is a documented example with a cushioned core and two grits, 100 and 180. Its directions identify the 100 side as more abrasive. Those specifications describe that tool within the brand’s manicure system; they do not establish a universal grit for finished press-ons. Match the file to your nail maker’s guidance.
| File detail | What to establish |
|---|---|
| Straight or curved board | Can you see and control the edge being worked? |
| Grit on each side | Which surface does the nail maker permit for this task? |
| Condition | Is the abrasive intact, with no damaged or peeling edges? |
| Cleaning or replacement | Is the file reusable, washable, or intended to be replaced? |
Work in small, visible adjustments
Keep the intended finger and size identifiable when working on loose tips. Compare corresponding fingers as you go, rather than shortening every nail first and discovering that one has lost too much length. If a bonded nail moves or filing causes pain, stop.
- Select a tip that already fits your nail’s width and curve. Decide on the small free-edge change before starting.
- Check whether the instructions allow shaping before attachment or require waiting after application. Keep pre-applied adhesive covered until its instructed application step.
- Support the tip as directed and use light, controlled strokes on the permitted artificial edge. Pause frequently to compare the outline and length.
- Stop if the cover flexes excessively, cracks, or its finish starts separating. Do not keep filing in an attempt to hide damage.
- Remove filing dust in the way the product instructions allow, then recheck the shape and fit before continuing the manicure.
Keep fit, preparation, and removal separate
Removing length cannot add missing width or correct an unsuitable underside curve. Minor side adjustments are only appropriate when the maker explicitly allows them and the cover still fits. Do not thin your natural nail to make an artificial cover sit lower. The AAD explains that filing the natural nail surface can thin and weaken it.
Some removal instructions include filing the artificial surface before a specified remover. That is a separate process from edge shaping. Do not file through a bonded cover into your natural nail, pry underneath it with the file, or replace removal instructions with aggressive abrasion.
A few common questions
Is a curved press-on nail file better than a straight one?
Neither shape establishes compatibility. Check the grit and intended use, then choose a board you can control around the permitted artificial edge.
What grit should I use for every press-on set?
There is no single recommendation here for all materials and finishes. Use the set maker’s specified file or ask which abrasive and shaping method it supports.
Can filing make a press-on fit a flatter nail bed?
Shortening the free edge does not change the underside profile. Choose a better-matching cover instead of grinding it thinner or forcing it into place.
Sources & reading notes
This guide explains general considerations. Product labels and instructions vary, so check the specific kit and adhesive you use.