Identify the adhesive, use its removal method, and stop at resistance. Never rip, peel, or pry an attached press-on from your natural nail.
Are press-on nails easy to remove?
They can be straightforward to remove when the adhesive, remover, and nail cover belong to a compatible system, but easy does not mean instant. Read the exact removal steps before applying a set. A familiar-looking cover can use a different adhesive from the one you wore last time.
Plan for the supplies and wait times the manufacturer specifies. If a cover resists, do not pull harder to meet a schedule. Follow the system’s next step or obtain help if it stays stuck or painful. The instructions below help you organize that decision rather than promise a universal removal time.
Press-on nail not coming off: what to check next
If a press-on is not coming off, stop pulling or levering it. One loose edge does not mean the rest of the bond has released. Do not push a stick, another nail, or another tool underneath to make a gap.
Recheck the adhesive name and the removal product against the original instructions. Tabs, liquid nail glue, and light-cured gel are different systems. Follow only the stated waiting, repeat, and next-step directions; do not invent a longer soak, heat the remover, or combine products to force a result.
If the identified process still does not release a painless, firmly attached cover, ask a qualified nail professional familiar with that system for removal help. Bring the packaging or product names and explain what you have already tried. If the adhesive is unknown, get identification help before applying another remover.
Pain, bleeding, visible injury, or a reaction changes the next step: stop home removal attempts and seek medical advice. FDA advises contacting a healthcare provider about a bad nail-product reaction. AAD recommends medical care for a particularly painful nail injury or inability to bend the affected finger. Do not wait for a salon appointment in those situations.
First, identify what is holding the nail on
Find the original instructions, bottle, tab sheet, or order details. Check both the press-on maker's removal guidance and the adhesive label. If they are unclear or conflict, ask the manufacturer before proceeding.
Glue-on nails, removable tabs, and pre-attached adhesive systems may call for different products or techniques. A method shown for gel polish, acrylic extensions, or another press-on brand is not automatically appropriate for your kit. Keep the distinction clear when following an online tutorial.
| System | Your next check |
|---|---|
| Adhesive tabs | The tab maker's loosening and residue-removal method |
| Liquid nail glue | The named compatible remover or removal process |
| Pre-attached adhesive | The instructions supplied with that exact set |
| Unknown attachment | Identify the product or seek professional guidance |
Choose a press-on nail glue remover for your adhesive
Match the remover to both the attachment product and the artificial nail. A liquid sold for removing polish is not automatically the specified remover for nail glue. Check the adhesive maker’s directions, then the cover maker’s material, finish, and reuse guidance. Ask for clarification if either is missing.
A suitable remover works on the bond by softening or dissolving it as described by its manufacturer. Peeling away a cover that is still bonded uses force instead. An included tip or stick does not make prying an attached nail an acceptable shortcut.
These two documented products illustrate why the ingredient list and full instructions matter. They are examples to identify, not a recommendation to substitute one for the other.
- Read the ingredients and warnings rather than inferring them from a no-soak claim. KISS Glue OFF is an example of a product that avoids a soaking step yet contains acetone.
- Use the named product’s placement, quantity, waiting, and repeat instructions. Do not transfer one remover’s timing to another or mix them into a homemade formula.
- Confirm what the process does to the cover before planning reuse. Acetone-free does not, by itself, establish that a particular plastic or decorative finish will be preserved.
- Allow the bond to release as directed and handle remaining glue separately. If access or release requires force, stop and get help instead of driving a tool beneath the nail.
| Documented remover | Published formula detail | What its directions distinguish |
|---|---|---|
| KISS Glue OFF | Lists acetone and isopropyl alcohol among its ingredients | Applied along the cuticle, followed by the instructed wait and gentle release; repeat as directed without forcing. |
| Glamnetic Press-On Nail Remover | Lists propylene carbonate and water; described as acetone-free | Drops reach the adhesive through a gentle side opening; follow its waiting and repeat steps, and never force a gap or release. |
Press-on nail oil remover: care oil or a removal formula?
Cuticle oil for conditioning and an oil-based product formulated for removal have different intended uses. The word oil does not identify the full formula, the solvents it may contain, or the adhesives and nail materials it is compatible with. Read the actual ingredient list and removal directions rather than judging by the name or dropper bottle.
For a documented example, Doonails Remover Oil lists Paraffinum Liquidum, PEG-10 Castor Oil, Grape Seed Oil PEG-8 Esters, Dimethicone, and Ascorbic Acid on its US product page. Its detailed FAQ separates the process for adhesive tabs from the process for nail glue: for its glue-applied Soft Gel Press Ons, it calls for its additional Remover Liquid. The same instructions place Nail & Cuticle Oil after removal and cleanup as a care step.
That example shows why the complete instructions matter; it does not establish compatibility with another brand’s glue or a light-cured gel attachment. Follow the exact product’s method and warnings. Do not replace a named remover with cooking oil or a homemade soak, or transfer another product’s waiting time. FDA advises following nail-product labels and warning statements.
Removing spilled glue from skin is also a different task from releasing an attached nail cover. Directions for the first do not demonstrate a suitable method for the second. If the cover remains bonded, return to the resistance guidance above instead of using more force. Moisturizing after removal is a separate step, not proof that a care oil will release the adhesive.
What a press-on nail remover tool can and cannot do
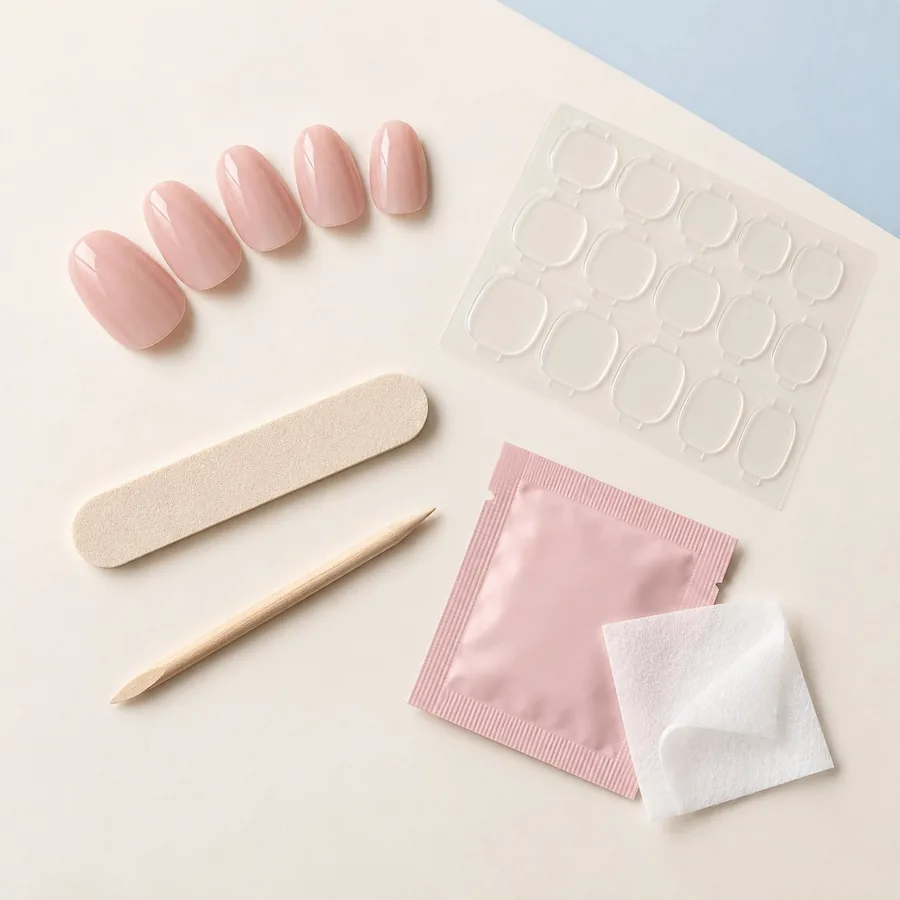
A dropper, built-in applicator, wooden stick, or remover clip has a particular role in a product’s instructions. It does not replace the compatible removal formula or make an attached cover ready to lift. KISS Glue OFF, for example, pairs a chisel tip with its remover and explicitly says not to force or pull off the artificial nail.
Identify whether a tool delivers remover, holds a specified pad in place, or assists release after the bond has softened. Use it only for the documented task. An included stick is not permission to wedge beneath a firmly attached nail, and a sharp metal tool or dental floss is not a substitute release method.
For removal at home, gather the named supplies before beginning and work only while the process remains gentle. If you need leverage to separate the cover, stop and follow the guidance for a nail that will not come off. Pain or a torn natural nail needs the separate injury guidance.
Prepare the space and supplies
Gather only the supplies required by the directions. Protect the surface underneath and keep the product labels where you can read them. FDA recommends ventilation and attention to warnings; some nail products are flammable. Keep removers away from heat and flames.
If you hope to reuse the press-ons, check whether the recommended process preserves their material and finish. Reusability is a secondary concern: it never justifies pulling an attached cover off. Do not heat or mix removers to speed things up.
Follow the process, then reassess
Use the instructed quantity, method, and timing. Avoid adding tools or solvents that are not part of the guidance. Work slowly enough to notice resistance rather than treating removal as a race.
- Apply the designated removal method exactly as directed for your adhesive.
- Check whether the cover releases as described in those instructions; do not force a gap with a tool.
- If it remains attached, stop pulling and follow the label's repeat or next-step guidance.
- If the approved process is ineffective or the nail hurts, seek help from a qualified professional.
- Handle leftover adhesive using its specified removal method instead of scraping the natural nail.
Treat residue and aftercare as separate steps
An artificial cover coming off does not mean all the adhesive has gone. Inspect the nail in good light. Resist picking at patches of residue or sanding the surface until it feels smooth; consult the adhesive's cleaning directions.
After completing the removal and cleaning steps, moisturize your nails and surrounding skin. AAD recommends moisturizing after remover use. Leave damaged nails uncovered and get advice about persistent tenderness, a rash, or other unusual changes. Applying a new set immediately can hide a problem rather than resolve it.
Make your next removal easier to plan
Save the adhesive name and removal instructions with the remaining nails. Note whether the supplies were practical and the cover suitable for reuse.
For future applications, check removal requirements before committing to an adhesive. Choosing a method includes deciding how you will take it off.
A few common questions
Are press-on nails easy to remove?
Ease depends on the attachment system, suitable supplies, and the maker’s removal process. Some require a dedicated remover or repeated waiting. Do not force a nail off because a tutorial calls it quick.
Can I remove every press-on set with warm water?
No single method is appropriate for all adhesives. Use water soaking only when your system's instructions call for it; do not replace a specified remover with a household recipe.
Will acetone preserve my press-ons for reuse?
Do not assume so. A solvent may alter a nail's material or finish. Check the nail maker's instructions alongside the adhesive removal directions.
What should I do if removal hurts?
Stop forcing the nail. Seek professional advice if it remains attached or painful, and avoid covering a damaged nail with another artificial nail.
Sources & reading notes
This guide explains general considerations. Product labels and instructions vary, so check the specific kit and adhesive you use.
- FDA: Nail Care Products
- AAD: Manicure and pedicure safety
- AAD: Artificial nails and nail damage
- KISS Glue OFF: ingredients and product-specific removal steps
- Glamnetic Press-On Nail Remover: formula and directions
- AAD: injured nails and when medical care is needed
- Doonails Remover Oil: ingredients, tab-versus-glue directions, and separate aftercare
Get to know Kittiva.
Explore the designs and kit details on the brand’s own website. Check current contents and delivery availability before choosing.
Read our Kittiva spotlightThis editorial project supports Kittiva.