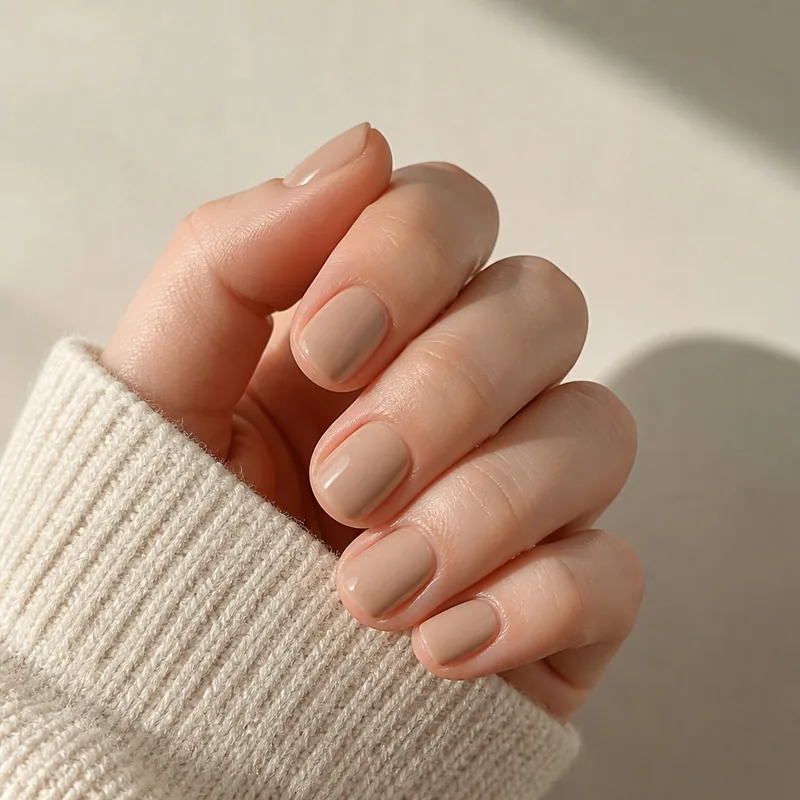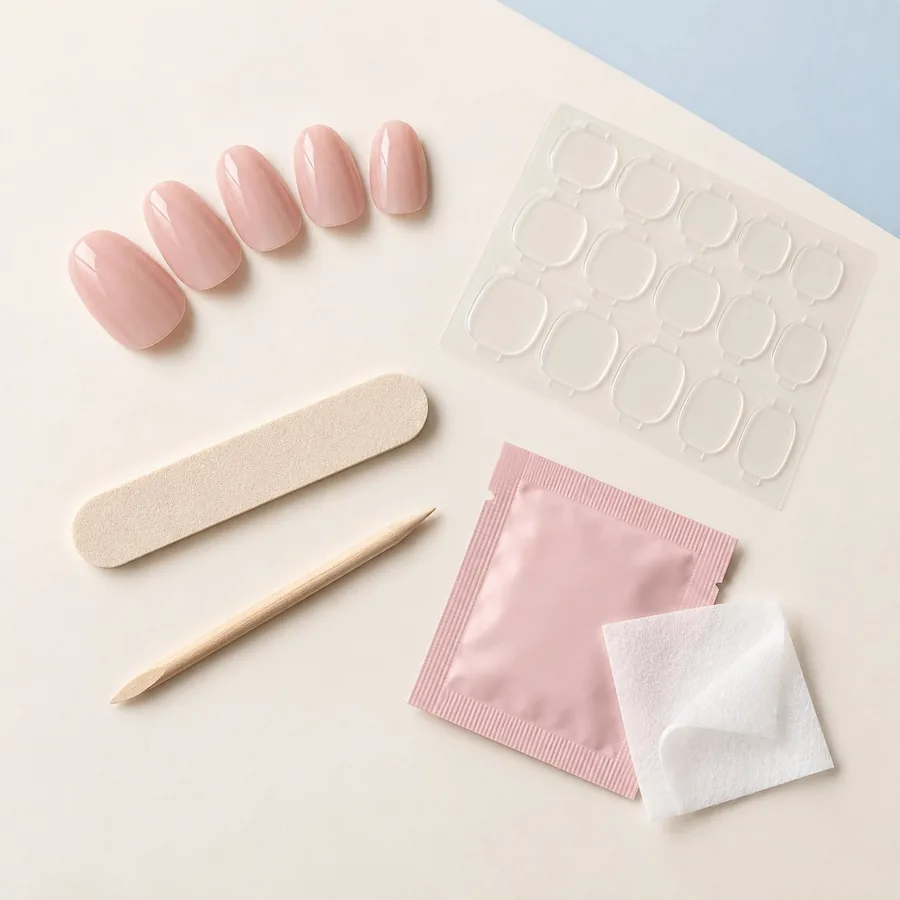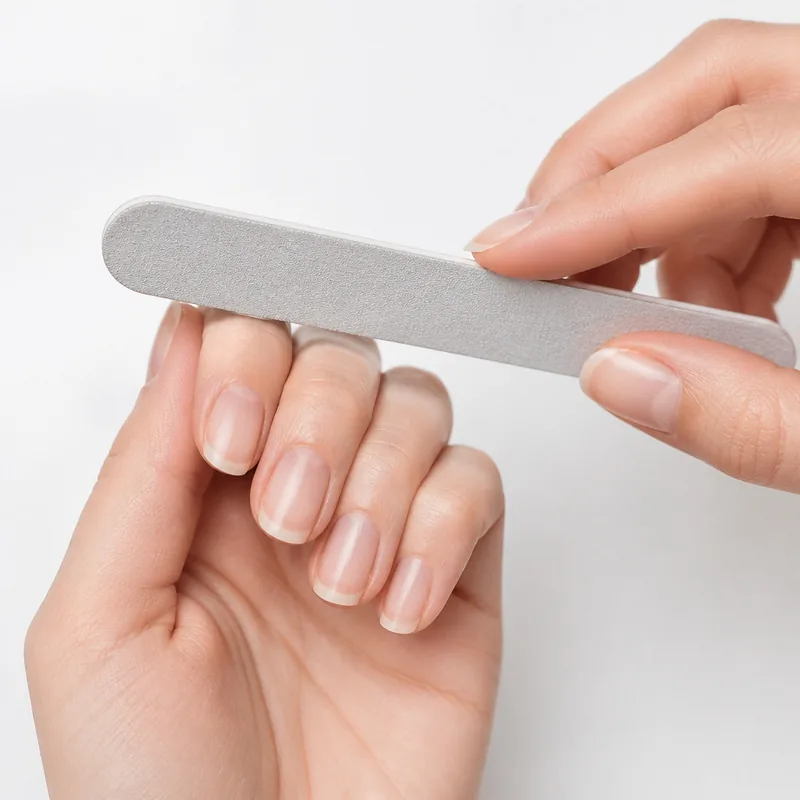
Organize, dry-fit, and read first. Follow your exact adhesive's application and removal instructions throughout the manicure.
Find and check the press-on nail directions for your set
Start with the product name and line on the box, then identify the exact adhesive. Keep the leaflet and labels together. If directions are missing, look for that product on the manufacturer’s official website using its full name or item code. A tutorial for the same brand may describe a different attachment system.
Check that the online instructions match your packaging, adhesive, and supplied equipment. If a QR code opens a general brand page, navigate to the exact line. If the label and online directions conflict, ask the manufacturer before applying; do not combine the parts that seem most convenient.
The differences are practical: Static Nails publishes instructions for its separate adhesive tabs, imPRESS documents peeling its pre-applied backing, and KISS Salon X-tend has its own gel-curing process. Once you have the matching directions, record these five details rather than borrowing a hold time or preparation step from another system.
- Preparation: which cleaning products or tools the kit actually specifies.
- Attachment: whether you have separate glue, separate tabs, or a pre-applied backing.
- Placement: where the adhesive goes, its directed amount or tab size, and the required hold time.
- After application: any setting period and limits on contact with water or other products.
- Removal: the approved method and supplies, checked before the first nail is attached.
Choose an application video for your exact system
For a verified manufacturer example, Doonails’ US Soft Gel Press Ons application page contains a YouTube tutorial and written steps for its finished press-ons. The written guide separates adhesive stickers from nail-glue application. Use the branch that matches the product you actually have; this is not a tutorial for attaching tips with light-cured gel.
When finding a press-on nail video on YouTube, compare the product line and adhesive shown with your packaging. Watch the preparation, backing or glue placement, and finishing stages before starting. A sped-up clip can omit waiting periods, warnings, or removal supplies. Keep the written directions available and do not transfer another adhesive’s quantity, hold time, or curing steps to yours.
Set up before attaching a single nail
Pick a well-lit surface where small nails will not disappear into fabric. Open the instructions, identify the adhesive, and make sure you have the required removal supplies too. Finish tasks that require bare fingertips before you start.
Dry-fit all ten covers and set them out in finger order. Check width, curve, and base position. The cover should not overlap your skin or need force to sit comfortably. If the fit is wrong, solve it now instead of trying to compensate during attachment.
Press-on nail hacks for a more organized application
The most useful shortcuts happen before attachment: keep the sizes, instructions, and supplies easy to find. These planning tips work alongside your product directions; they do not change its preparation steps, adhesive amount, or setting time.
- Save a left-hand and right-hand size map after a comfortable dry fit. Include the brand, product line, and shape so you do not mistake one set’s size numbers for another’s.
- Arrange the ten selected covers in two labeled rows on a clean tray, with their base ends pointing the same way. Decide your finger order before exposing adhesive, following any sequence the maker specifies.
- Photograph the product label and removal directions before putting the box away. Keep the original packaging so the full name, ingredients, and item code remain available.
- Keep any unused, correctly fitting spare covers in their original compartments. Label which finger each could fit, without assuming a detached or single-use nail can be reapplied.
- Clear filing dust and loose fibers from the work surface before laying out the selected covers. Keep their attachment surfaces clean and leave adhesive backings in place until the instructions tell you to remove them.
- Put the specified removal supplies within reach before starting, and plan enough time for removal before the next activity that requires bare nails. A calendar reminder is useful; it does not extend the product’s recommended wear.
Prepare the nail without overworking it
Begin with clean hands and remove existing polish using an appropriate method. Follow your kit's prep directions, including any supplied wipe. Do not add extra primers, cleansers, or aggressive buffing because another tutorial used them.
Leave cuticles intact; AAD advises against cutting or forcefully pushing them back. Do not apply press-ons over damaged nails. If a required step seems unsuitable for your nails, pause and seek individual advice instead of improvising.
- Before final cleaning, finish the ten-finger dry fit and any cover adjustments the maker permits. Keep the chosen pieces in order.
- Check the natural nails and surrounding skin for damage, soreness, or unexplained changes; pause the manicure rather than adding preparation products over a problem.
- Follow the stated cleaning and drying sequence. Use only the preparation products called for by the kit; a longer list of primers or wipes is not automatically better preparation.
- After the specified final clean, avoid handling the attachment surfaces. Keep tab backings covered until their instructed removal step and recheck the next nail’s orientation before attaching it.
Apply one nail at a time
Keep the product's application instructions visible. The adhesive amount, placement, hold time, and wait before water exposure belong to that particular system. A generic countdown is not a substitute for them.
- Confirm the chosen nail and its orientation before exposing any adhesive.
- For glue, use the amount and placement specified on the label. For tabs, select the appropriate footprint and remove backing layers in the instructed order.
- Position the cover over your nail with its base clear of the skin. Check alignment before completing the attachment.
- Press and hold exactly as the product directs, without forcing an unsuitable curve flat.
- Repeat with the remaining nails, keeping unused sizes separate from your selected row.
- Complete any permitted edge adjustment and follow the stated setting and water-contact guidance.
Check the result before returning to your routine
Look at every nail from above and from the side. Check alignment, edges, and comfort. A pinching nail is not something to get used to. Use the prescribed removal process if an attached nail needs to come off; never twist, peel, or pry it free.
Do not treat lifting as an invitation to pour adhesive into an unknown gap. Refer to the product's lifting or replacement instructions. Keep a record of which sizes fit so the next application involves less sorting.
A press-on nail fell off: check before replacing it
First identify what came away. A detached artificial cover, a partially lifted cover, and an injured natural nail need different next steps. Do not rush to hide the exposed area with more adhesive.
- Leave the nail uncovered if it is damaged, painful, irritated, or has unexplained changes. AAD warns that artificial coverage can worsen existing nail problems.
- Do not reattach over dampness or debris. Cleveland Clinic explains that trapped moisture beneath press-ons can support bacteria or fungi; a cover coming off by itself does not diagnose an infection.
- Check the exact maker’s replacement or reuse directions. A fallen cover is not automatically reusable. KISS, for example, describes Salon X-tend as single-use and recommends a new nail from the original kit if one falls off.
- For a product that permits reuse, follow its cleaning and preparation method and confirm that the cover is still intact. Do not layer new adhesive over unknown residue, stack tabs, or substitute household superglue.
- Before trying another set, review the fit, preparation, attachment, and aftercare directions. Adding more adhesive does not identify why the first cover detached.
| What happened | Next step |
|---|---|
| Only the artificial cover detached | Inspect the natural nail and skin, then the cover. Check for moisture, debris, cracks, residue, discomfort, or unexplained color changes before considering a replacement. |
| The cover is partly attached | Follow the exact system’s lifting or removal directions. Do not peel it away or squeeze glue into an unseen gap. |
| The natural nail is lifting, torn, or bleeding | Treat this as a nail injury and seek medical advice before another manicure. Do not attempt a cosmetic-glue repair; get urgent care for severe pain or bleeding that does not stop. |
Three mistakes worth avoiding
First, rushing the dry fit can leave you discovering a size mismatch after attachment. Second, using extra adhesive to compensate can make placement harder without correcting the fit. Third, planning removal only when you want the nails off can leave you without the right supplies.
If irritation develops, stop using the product and seek medical advice. Save the packaging so you can identify what you used. A finished manicure should never take priority over discomfort.
A few common questions
How long should I hold each press-on nail?
Use the hold time printed on the product. Adhesives differ, so one number should not be applied to every glue or tab system.
Do I always need to buff my natural nails?
Do not add buffing automatically. Read the kit's prep instructions and avoid aggressive filing or thinning of the natural nail.
What if a press-on is crooked after it attaches?
Follow the specified removal method before trying again. Do not force an attached cover sideways or peel it up to reposition it.
Can I use the same application instructions for every press-on nail?
No. This guide organizes the routine, while the product label supplies its preparation, attachment, hold-time, aftercare, and removal directions. If the package is missing clear instructions, obtain them before applying the set.
Can I glue a press-on straight back on after it falls off?
Check the natural nail, skin, and cover first, then follow that product’s replacement or reuse directions. Do not cover damage, irritation, dampness, debris, or unexplained changes, and do not assume a single-use cover can be reapplied.
Sources & reading notes
This guide explains general considerations. Product labels and instructions vary, so check the specific kit and adhesive you use.
- FDA: Nail Care Products
- AAD: Manicure and pedicure safety
- Static Nails: directions for its separate adhesive tabs
- KISS imPRESS: directions for a pre-applied adhesive set
- KISS: Salon X-tend system-specific instructions
- Cleveland Clinic: trapped moisture, reactions, and press-on damage
- AAD: covering damaged nails can worsen existing problems
- MedlinePlus: detached natural nails, injuries, and when to seek care
- Doonails: official application video with separate sticker and nail-glue instructions
Get to know Kittiva.
Explore the designs and kit details on the brand’s own website. Check current contents and delivery availability before choosing.
Read our Kittiva spotlightThis editorial project supports Kittiva.