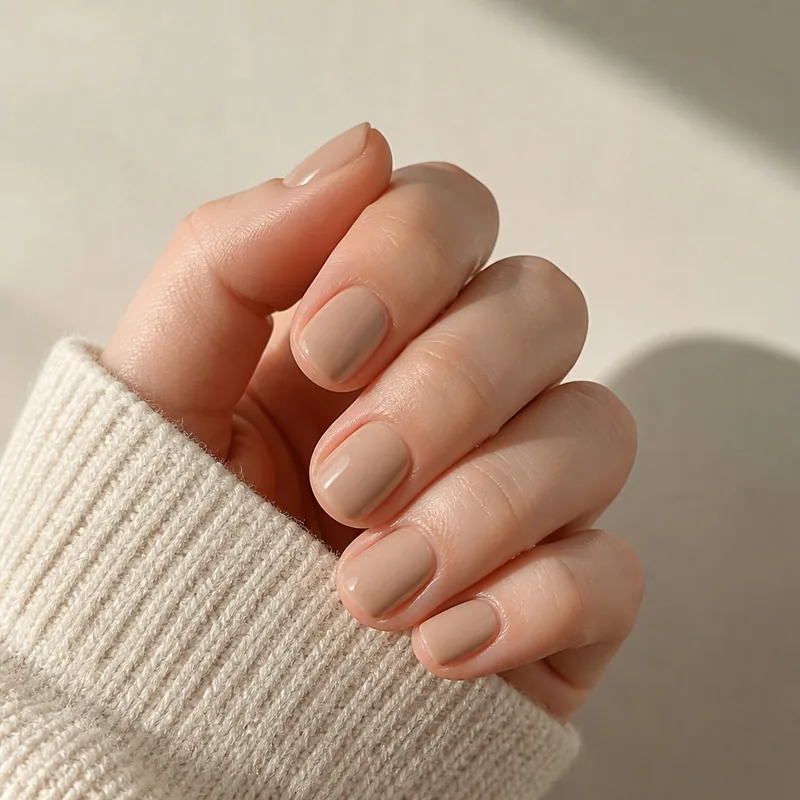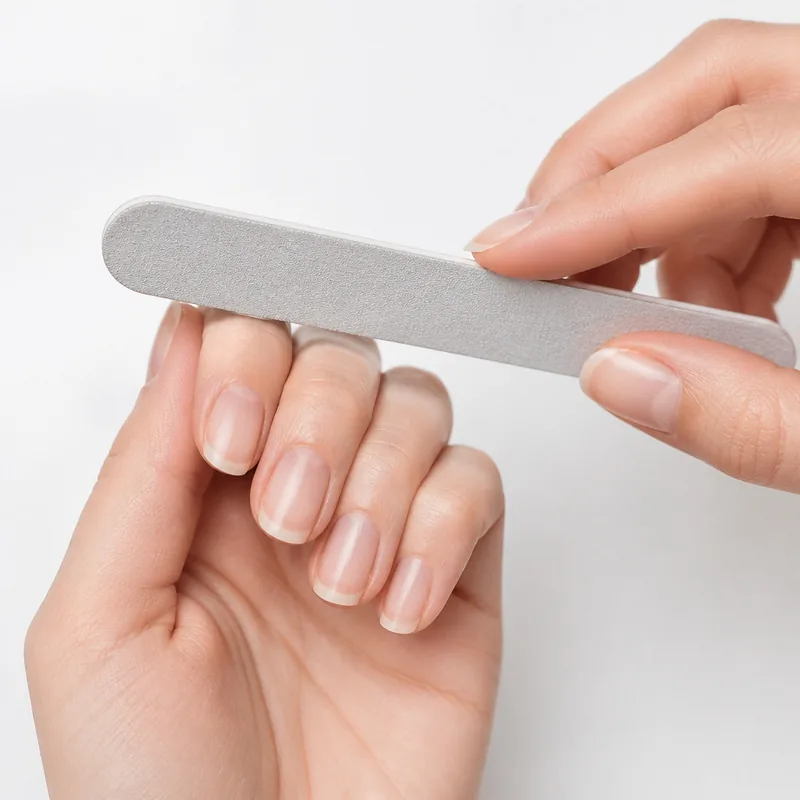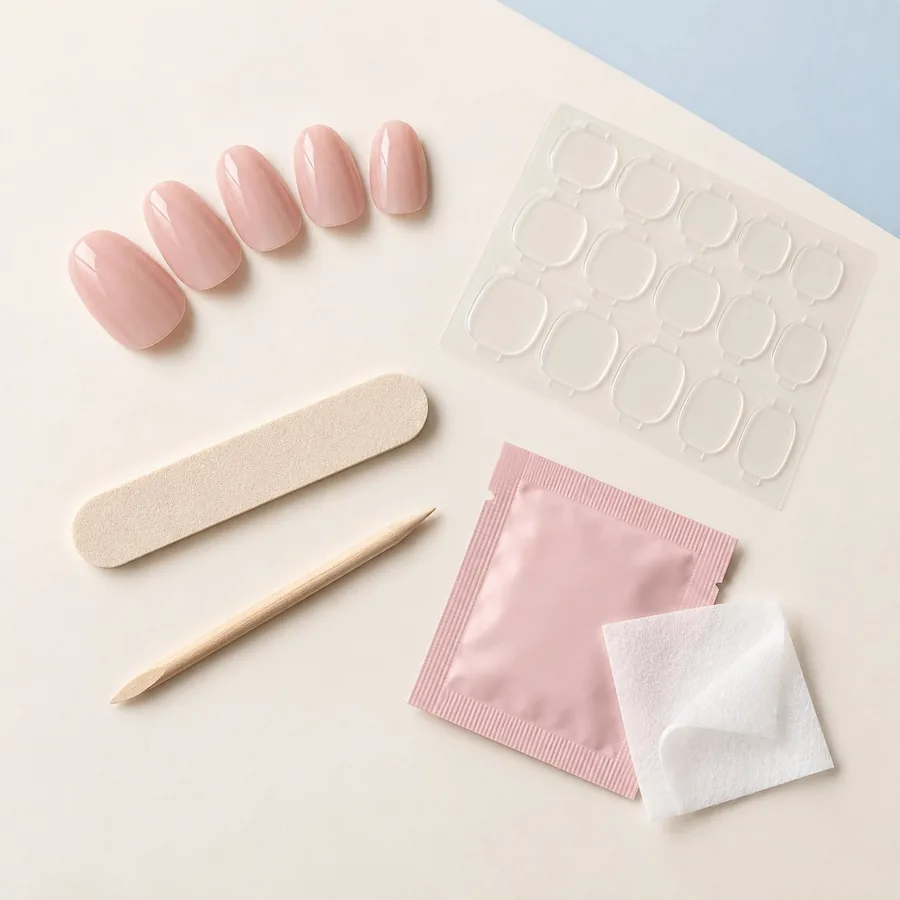
A tab manicure needs two good fits: the cover over your nail and the adhesive within it. Keep the exact application and removal directions with the set.
Separate tabs and pre-glued nails are different setups
Separate tabs usually arrive on a sheet in several sizes. You choose a piece for each nail, transfer it to the surface specified in the instructions, then remove its protective film. Pre-glued press-ons already carry adhesive underneath; their backing is removed immediately before attachment.
Check compatibility before buying replacement tabs. A set designed for one system may not permit another. Still choosing between liquid adhesive and tabs? Our comparison guide covers that decision.
When comparing a replacement sheet, count the usable tab sizes for both hands, not just the total number of pieces. Check whether the pack is a refill or also supplies nail covers and preparation items. A sheet of tabs is not a complete press-on set.
Press-on nails with no glue: what the label means
If you want press-on nails with no glue, first decide whether you mean avoiding a separate bottle of liquid nail glue. A no-glue manicure can still use adhesive. Check the actual package and directions rather than assuming the words describe a product that attaches without a bonding material.
KISS describes imPRESS Reddy or Not as a no-glue set with adhesive already applied beneath each cover. Its directions tell the wearer to peel the backing before attachment. Separate sticky tabs are another format: you select and transfer an adhesive piece to the surface specified by that system. The two formats remove different steps from the process.
A kit can also contain both options. KISS ICON Remarkable documents a tab application phase and a later glue application phase. Finding tabs in that box does not mean every permitted wear uses tabs, or that you should combine the two adhesives. Check which instructions apply to the way you intend to wear the set.
No-glue wording does not establish an adhesive-free or allergy-free formula, or guarantee that nails cannot be damaged. The imPRESS example lists adhesive ingredients, including Acrylic Acid and Acrylates Copolymer. Read the current label and warnings; a previous reaction needs qualified medical advice rather than a switch based only on a marketing phrase.
- Before buying, identify separate tabs versus pre-applied adhesive and confirm compatibility with the selected nail covers.
- Read preparation, attachment, and removal directions before opening the backing. No separate glue bottle does not mean no preparation or removal supplies.
What are press-on nail glue tabs?
Glue tabs commonly means the ready-cut adhesive pieces on a backing sheet. You select and transfer a piece rather than dispensing liquid nail glue. Check the package: a replacement sheet, a bottle of adhesive, and nails with pre-applied backing are three different formats even if a listing uses similar wording.
The word glue in glue tabs is not an instruction to add liquid adhesive. Follow the sheet’s documented method and the nail cover’s compatibility guidance. Do not put glue over a tab, combine adhesive layers, or convert a pre-glued set unless the manufacturer expressly supports that combination.
A tab format also does not establish an acrylate-free formula. Static Nails, for example, lists Acrylates Copolymer in its Pop-On Nail Tabs. Check the current ingredient information for the exact item; glue-free wording alone cannot answer a question about an ingredient or a previous reaction.
Does press-on nail tape mean adhesive tabs?
In a nail listing, tape may refer to double-sided attachment pieces, but it can also describe a decorating tape or temporary mounting material for a painting stand. Identify the intended job. Static Nails’ Pop-On Nail Adhesive Tabs, for example, have their own application and removal directions for attaching the brand’s covers; an ordinary roll of craft tape does not establish the same use.
For attachment, look for a product expressly intended for the nails you will wear, its usable sizes, backing sequence, skin-contact warnings, and removal method. Count the sizes needed for both hands. Do not stack tape layers to fill a poor fit or assume a no-liquid-glue option is free of adhesive allergens.
Jelly glue and jelly adhesive: identify the actual format
A listing named jelly glue or jelly adhesive does not establish one formula or application method. Vettsy describes its separate press-on sheets as clear jelly adhesive tabs that need no curing. Its Solid Nail Glue Pro is a different product with a UV/LED curing requirement. Check the exact item rather than treating every jelly-named adhesive as a tab.
Start with the package contents and instructions together. Is there a sheet of pre-cut pieces with protective film, a dispensing bottle or tube, or an adhesive gel? Packaging and thickness are clues, but the written setting or curing directions determine which method applies.
- Ask for the current label, ingredient information, and application/removal instructions if a seller gives only the name jelly glue. Do not guess from a stock photo.
- If jelly describes the nail color, it does not identify an adhesive. Neither a translucent appearance nor extra lamp time establishes compatibility with a curing gel.
| What the product actually is | What to confirm before use |
|---|---|
| Separate adhesive tabs | Usable sizes, film-removal order, permitted nail covers, and the sheet’s removal method. Follow the tab guidance below. |
| Nail glue labeled for use without a lamp | The exact glue’s setting, compatibility, and removal directions. A liquid bottle does not use the tab-transfer sequence. |
| Light-curable adhesive gel | The approved tips, compatible lamp, all required curing stages, and removal instructions. Use the system-specific guidance, not tab instructions. |
Match both the nail cover and the sticky footprint
Dry-fit the covers first. Then check the tab against the natural nail area, keeping adhesive off surrounding skin. A tab's number may coordinate with a specific brand's nail sizes; do not assume that number transfers to another collection.
KISS ICON pairs its supplied tabs with corresponding covers. Static Nails describes matching tab numbers to its nails, or checking natural-nail width when using other compatible covers. Use the directions supplied with your own sheet.
- Check width at the sides and placement near the cuticle before exposing adhesive.
- Avoid a tab that extends beyond the cover or onto skin.
- Keep each selected cover beside its tab to prevent size mix-ups.
Keep the backing order clear
Read the prep, placement, pressure, and water-contact instructions as one sequence. Some systems put the tab on the cover first; others permit placing it on your natural nail. Follow your product's method rather than combining steps from different tutorials.
- Prepare clean, dry nails using the steps your system specifies.
- Transfer the selected tab to the instructed surface, leaving its protective top film in place until directed.
- Smooth the adhesive as instructed, then remove the remaining film without handling the exposed sticky surface.
- Align the cover and apply the specified pressure and hold time. Do not force an unsuitable curve flat.
- Observe the stated wait before water, oil, or lotion contact.
If a tab lifts, review the fit and application
An oversized cover, an exposed tab edge, or a missed preparation step gives you something concrete to recheck. Do not stack extra tabs to fill a gap or add liquid glue unless the manufacturer explicitly instructs it.
There is no reliable wear duration for every sticky tab. Use the exact product's guidance and account for your activities. A product advertised for several days does not establish the same result for a different adhesive, nail shape, or routine.
Use the tab system's removal method
Read removal directions before application. Static Nails specifies its remover for its tabs, illustrating why warm water alone is not a universal instruction. Never force an attached cover off. Follow the specified process for residue, and check whether both the cover and adhesive system permit reuse.
FDA advises following nail-product warnings and notes that reactions can occur. Tabs are not automatically allergy-free. Leave damaged nails uncovered, consistent with AAD guidance, and seek medical advice about a reaction.
A few common questions
Are sticky tabs the same as pre-glued press-on nails?
No. Separate tabs must be selected and positioned; pre-glued covers already have adhesive attached. Follow the instructions for the system you have.
How long do press-on nails with sticky tabs last?
Wear varies by product, fit, preparation, and activity. Check the specific tab maker's guidance instead of relying on a universal number of days.
Can I use a larger tab and let it overlap my skin?
Choose a tab that fits within the nail area. If the available sizes do not fit, check the manufacturer's options rather than leaving adhesive on surrounding skin.
Are press-on nail adhesive tabs and sticky tabs different products?
Those names commonly describe the same separate adhesive pieces. Check the product itself: a refill sheet differs from nails with adhesive already attached, and directions vary by system.
Should I add liquid glue to press-on nail glue tabs?
Only use a combination that the manufacturer expressly supports. The name glue tabs usually describes the adhesive pieces themselves; it does not instruct you to add another glue layer.
Do no-glue press-on nails contain no adhesive?
No-glue often means no separate liquid glue is needed. A set can still use pre-applied adhesive or separate sticky tabs. Check its contents, ingredient information, and exact application and removal directions.
Sources & reading notes
This guide explains general considerations. Product labels and instructions vary, so check the specific kit and adhesive you use.
- Static Nails: Adhesive tab application and removal
- KISS ICON: Supplied-tab instructions
- FDA: Nail Care Products
- AAD: Artificial nails and nail damage
- Vettsy: jelly adhesive tab format without curing
- Vettsy: Solid Nail Glue Pro is a separate light-curable adhesive
- KISS imPRESS: no-glue wording, pre-applied adhesive, and ingredients
Get to know Kittiva.
Explore the designs and kit details on the brand’s own website. Check current contents and delivery availability before choosing.
Read our Kittiva spotlightThis editorial project supports Kittiva.