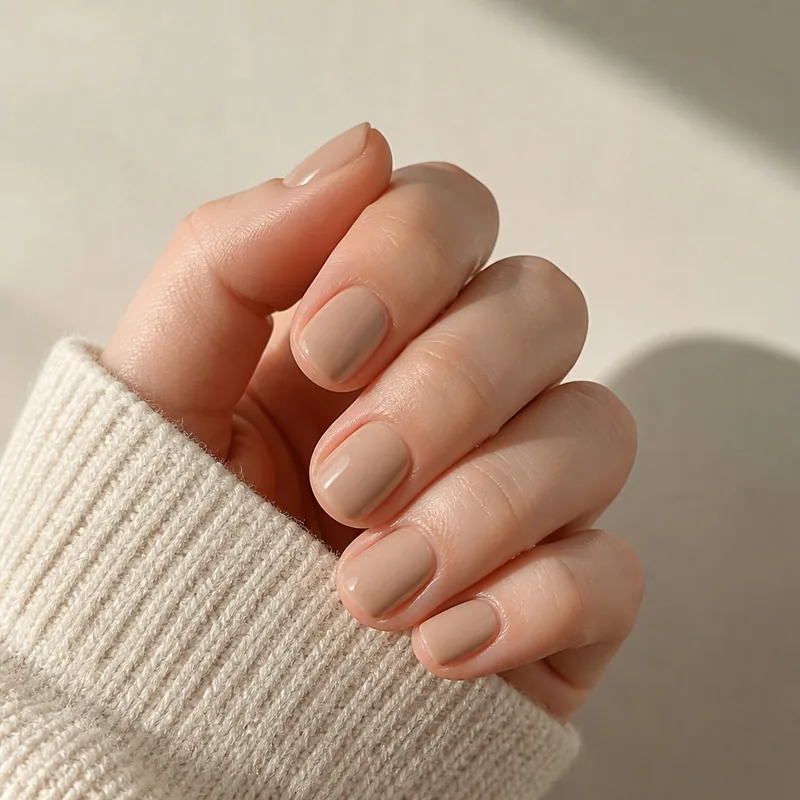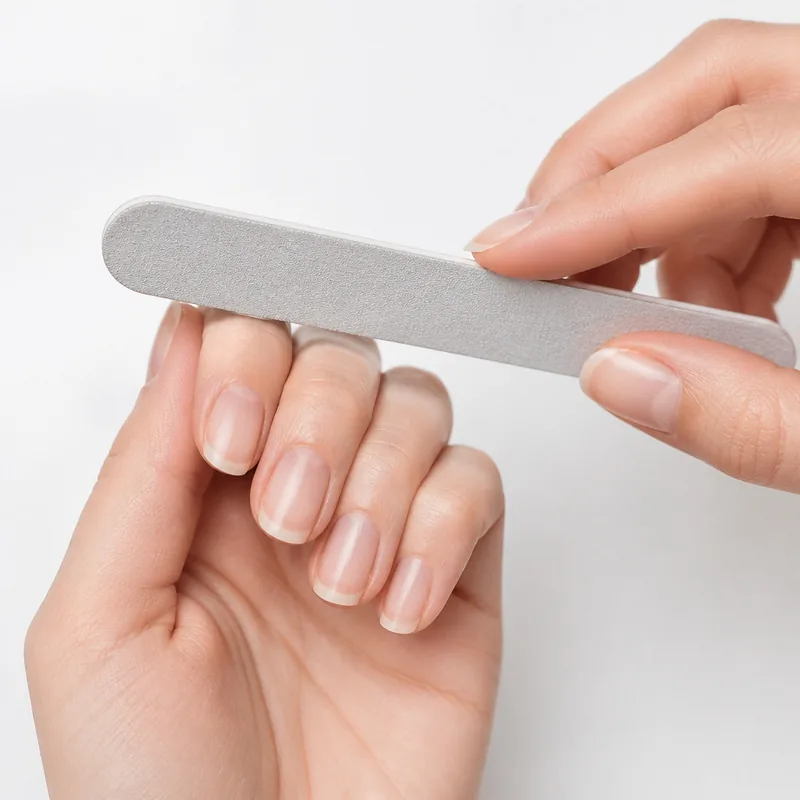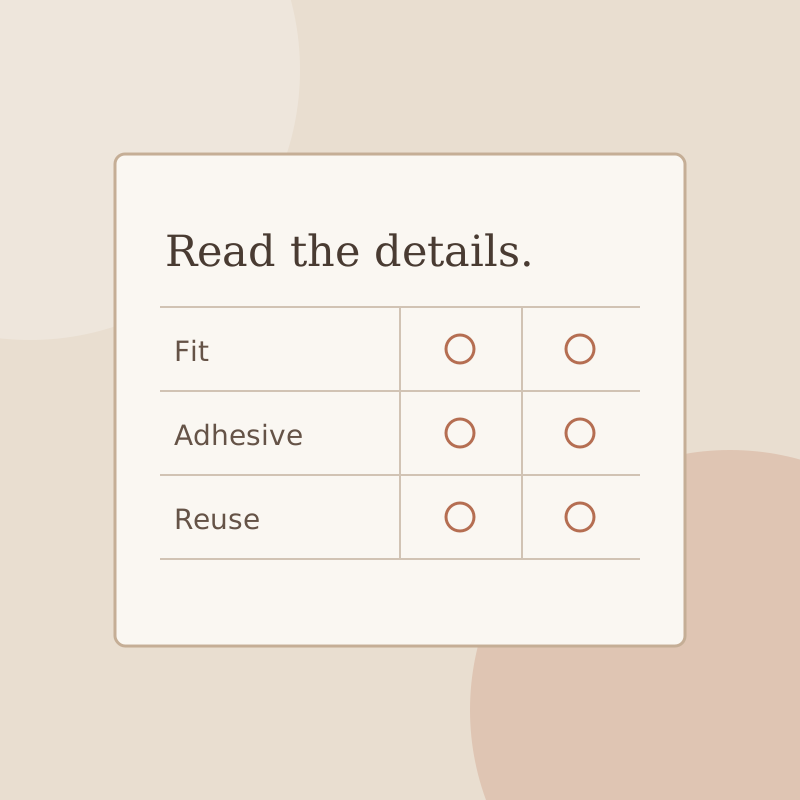
Start with blanks that fit, a manageable design, and documented compatible products. Finish the decoration before following the chosen attachment instructions.
Does clear mean a blank tip or a finished manicure?
A clear press-on nails kit may contain transparent blanks for decorating, or finished nails designed to be worn with a clear or sheer appearance. Nude describes a color; it does not establish that the nail is an undecorated blank. Read the product description and attachment instructions rather than relying on the photograph.
For this project, look for full-cover blanks that cover the whole nail plate, with the intended length and shape already formed. Check that the manufacturer supports your decorating and attachment method. KISS, for example, describes its Luminous full-cover tips as customizable and identifies their material and supplied glue. That information applies to that product, not every clear tip.
Start with three simple press-on nail design ideas
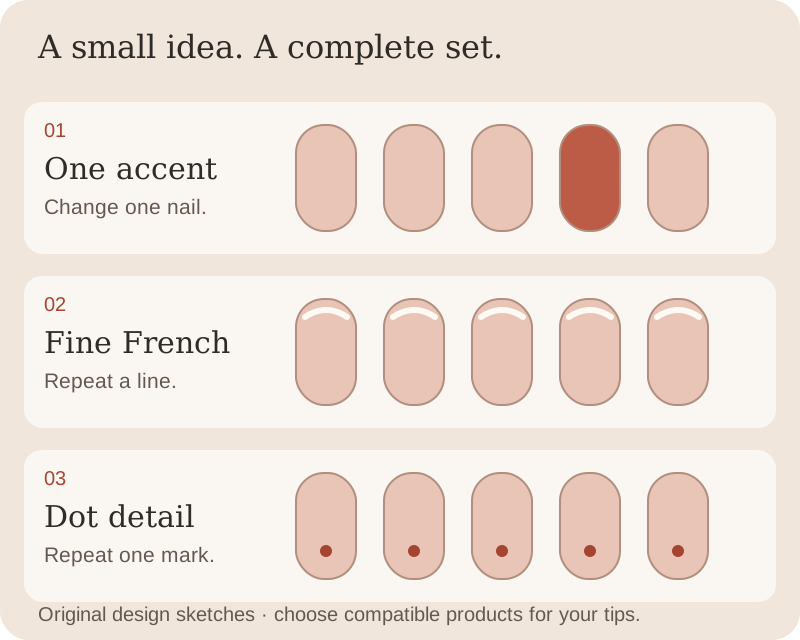
For a first design, decide what repeats across the set and what changes. These original sketches use the same basic nail outline to show different layouts. They are design ideas, not photographs of tested products or a claim that one coating suits every tip.
Choose your shape and sizes first, then place the decoration within that outline. Leave the contact surface underneath free of decoration. A thin painted detail and a raised charm also create different handling needs; keep the first project manageable.
- One accent: use a single base color on most nails and a contrasting color on one nail per hand. Record which finger carries the accent so both hands follow your plan.
- Fine French: sketch a narrow curved line at the free edge of each nail. Keep its visual weight consistent while adapting the curve to each nail width.
- Dot detail: place one small contrasting dot in the same relative position on each nail. Use a spare blank to plan the size and spacing before decorating the selected set.
Three more designs with one repeatable detail
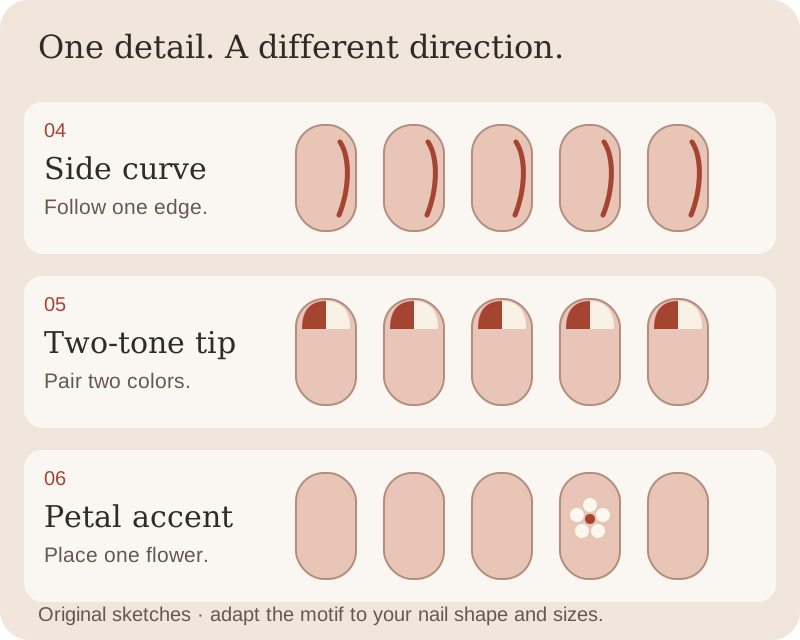
A design can feel coordinated without giving every nail identical decoration. These three additional sketches vary the placement of a line, color block, or small flower. Use them as original layout prompts rather than product matches or claims about current trends.
- Side curve: repeat a curved line along one side of each nail. Decide whether the right hand mirrors the left, and keep the line inside the outline instead of carrying decoration onto the underside.
- Two-tone tip: divide the free-edge area into two adjacent color blocks. Adapt the width of each block to the nail; a thumbnail and pinky need different proportions to look balanced.
- Petal accent: put a small five-dot flower on one nail and leave the others in a single base color. Plan the flower center first, then keep the five petals within the available surface.
Adapt these press-on nail ideas to a short outline
Use the six sketches above as starting points, then redraw the detail inside the actual blank you plan to wear. A short nail leaves less length for a motif, while the available width still varies by finger. Keep a clear area of base color around small details instead of adding every element from a longer reference.
Keep the correctly fitting blank in its intended position; do not choose a smaller cover or move it away from the cuticle to make room for artwork. Plan the line or motif around the fit. For choosing round, square, or squoval outlines and checking actual length, use the separate short-shapes guide.
| Starting idea | An adjustment for a short nail |
|---|---|
| One accent | Keep one contrasting nail per hand and leave the remaining nails plain. The color change supplies the detail without needing extra painted space. |
| Fine French | Plan a narrow edge band so some base color remains visible. Compare its proportion on each size instead of using one fixed line width. |
| Dot detail | Start with one small dot. Leave enough surrounding base color that it reads as a separate mark rather than a large color block. |
| Side curve | Use one curved line and leave open space beside it. Shorten the line if its ends crowd the outline. |
| Two-tone tip | Keep both color blocks within a modest edge area. Check the division on the smallest nail before repeating it across the set. |
| Petal accent | Place a small flower on one accent nail. Reduce the overall motif or choose the single-dot idea if the petals merge visually. |
Use press-on nail images to make a clear reference brief
The two illustrations in this guide are original composition sketches. They show six ideas for placement and repetition, not photographs of finished products, exact color samples, or results from a wear test. Use them for press-on nail inspiration, then choose the actual blanks and compatible colors separately.
When comparing product photos or an artist’s portfolio, look for the exact shape and length you want. A design on a long almond nail may occupy a different proportion of a short round nail. Ask for close-ups of the complete set and a side view if raised details matter. Confirm the named shade, opacity, and finish; lighting and screen settings can change how a color looks.
Turn the reference into a brief with five choices: outline and length, base color, motif, accent fingers, and finish. For example: short round blanks, an opaque cream base, one blue dot per nail, the same layout on both hands, and a glossy finish. That is an original design direction to discuss or test visually on a spare blank, not a promise that an unidentified product will reproduce the colors.
What belongs in a press-on nail design kit?
Choose the design before collecting tools. A single color with one accent nail calls for fewer supplies than detailed artwork on every finger. Check each bundle's contents; a pack of blank nails may leave the coating, holders, and removal supplies to you.
Design kit and DIY kit are descriptions, not standardized contents lists. Compare the actual supplies with your chosen motif: a fine curved line needs a suitable detail tool, while a dot flower needs controlled small marks. A bundle that includes blanks and holders may still leave color, finish, attachment, and removal products to you.
| Supply | What to check |
|---|---|
| Full-cover blanks | The size range, underside curve, length, and permitted decoration method |
| Tip holders | A stable stand and compatible temporary mounting material |
| File and cleaning supplies | The tip maker's permitted shaping and surface-preparation methods |
| Color and finish | Compatible coatings, with their complete drying or curing instructions |
| Detail tools | Only the brushes, stickers, or decorations your design needs |
| Attachment and removal | Products and directions suitable for the finished decorated covers |
| Storage | A clean container that keeps the completed nails in finger order |
Choose the ten nails before painting
Dry-fit the blanks and record the size for each finger, keeping left and right hands separate. Complete any adjustments the tip manufacturer permits before decorating. If a tip needs pressure to match your nail's curve, reconsider the fit; decoration will not solve that mismatch.
Sketch ten positions on paper and assign your colors or motifs. Mark which end is the cuticle edge so lettering, flowers, or a French line face the way you intend. Try your color arrangement on a spare blank before committing the selected nails. This is a design preview, not a test of product safety or curing.
Before making all ten nails, make a paper plan with one row per hand. Mark the accent finger, the direction of each motif, the exact colors, and the shape. If you commission the design, share that plan and confirm which details the artist can reproduce; a sketch alone does not establish the final finish or available materials.
Work on holders, then complete the coating process
Use a nail-tip stand with its specified mounting method to hold the blanks while decorating. Keep them in the order of your paper plan. Gelous documents painting and curing tips off the hand on a stand before attaching them with its sticky tabs; this is one example of a deliberately separate decoration and attachment process.
Prepare the tip surface only as instructed, then apply compatible color and finish products. For air-drying lacquer, follow its drying directions before handling or storing the set. For gel, follow the exact coating system's lamp, positioning, and curing instructions for this use. A hard-looking surface cannot verify a complete gel cure.
FDA advises good ventilation when using nail products and following labels and warnings. Keep containers closed between uses and avoid getting nail products on skin. If compatibility or the instructions are unclear, ask the manufacturer before continuing.
Check the finished set before wearing it
After completing the coating instructions, check for rough edges, cracks, loose decoration, and size mix-ups. Remove mounting material using the approved method and keep the contact surface clear of leftover tack or decoration. Store the set in order with its product instructions until you are ready to apply it.
Use only an attachment method supported for the finished covers. Do not place curing gel beneath ordinary opaque or decorated press-ons; decoration can block the light needed to cure the adhesive. An originally transparent blank does not remain a confirmed gel-attachment system after you paint it.
A few common questions
Do I need a lamp to make my own press-on nails?
That depends on the coating system. Compatible air-drying lacquer follows its own drying instructions. Light-curable gel requires its specified equipment and process.
Is every clear nail tip suitable for DIY press-ons?
No. Confirm full coverage, fit, and the manufacturer's permitted decorating and attachment methods. Clear describes appearance, not compatibility.
Can I decorate the nails before putting them on?
Yes, when the chosen system supports decorating on holders before attachment. Follow its coating instructions completely, then use the specified adhesive for the finished set.
What belongs in a press-on nail art kit?
Start with well-fitting full-cover blanks, suitable holders, a compatible color and finish system, and only the detail tools needed for your design. Check which supplies are included and which must be added, including the attachment and removal products for the finished covers.
Sources & reading notes
This guide explains general considerations. Product labels and instructions vary, so check the specific kit and adhesive you use.