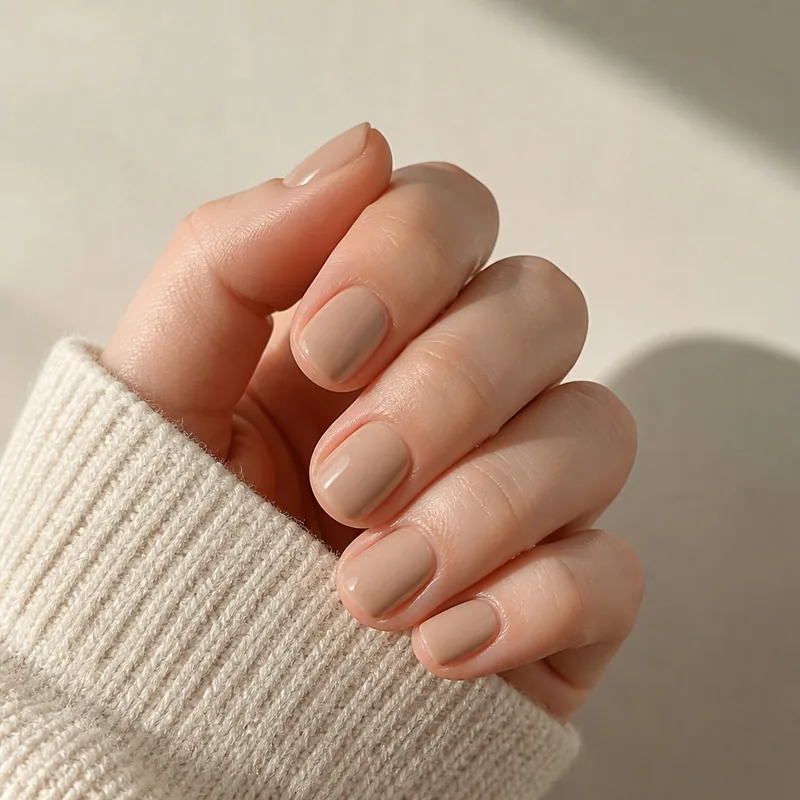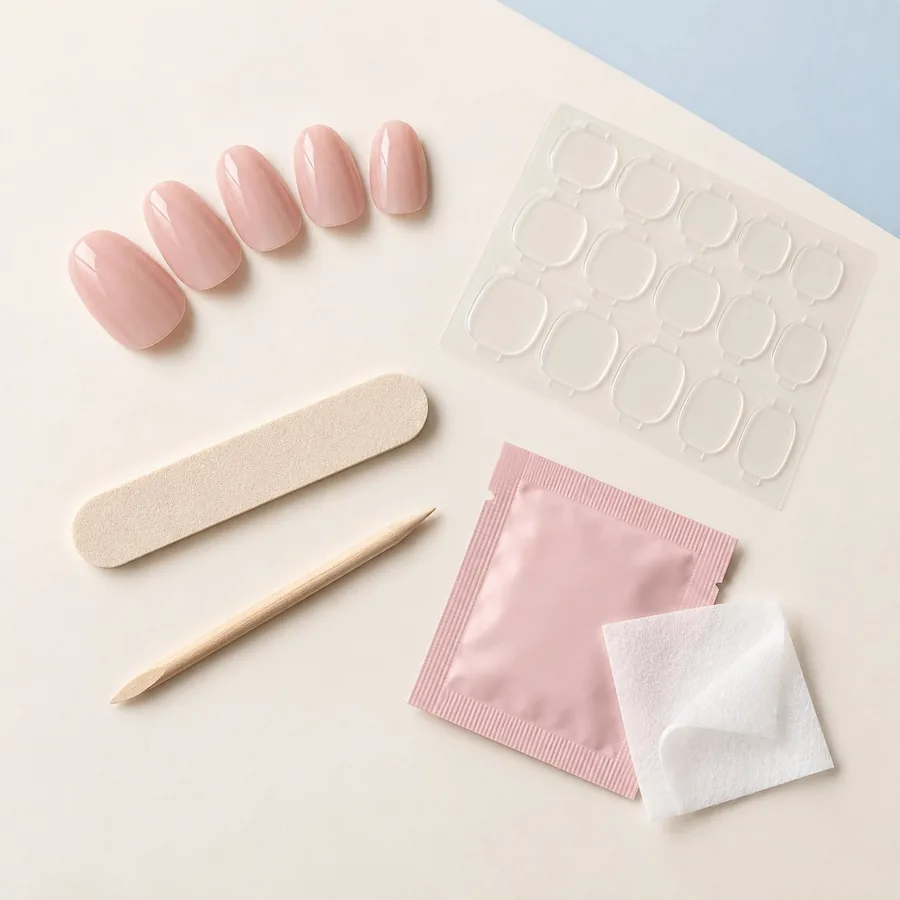
Judge a kit by its fit options, clear instructions, and complete application-and-removal plan, rather than the number of accessories pictured.
Start with the nails, sizes, and adhesive
The nails themselves usually come in several widths so you can choose a separate fit for each finger. A large piece count does not tell you how many complete manicures you can make: your usable combinations depend on the sizes you need. Check the size chart or included measurements rather than treating every spare nail as another wear.
Look for a clear statement about attachment. Glue-on nails require a compatible nail adhesive. Adhesive-tab systems use shaped sticky pieces, while some press-ons arrive with adhesive already attached. A photograph of a glue bottle does not replace a written contents list.
For a concrete example, KISS lists Felicity with 32 nails, nail glue, a manicure stick, and a mini file. That is the inventory of that specific set, not a universal essentials list. Compare the written removal instructions as well as the contents before deciding what else you need.
| Item | What to check |
|---|---|
| Press-on nails | Available widths, shape, length, and number of each size |
| Nail glue or tabs | Whether included, compatible, and labeled for the intended use |
| File or buffer | Whether supplied and what the directions say it is for |
| Prep supplies | Any wipes or tools listed in the box contents |
| Instructions | Application, removal, warnings, and storage details |
Choosing a press-on nail kit for beginners
For a first kit, decide whether you want finished nails to wear, blank tips to decorate, or a light-cured extension system. A professional maker’s supply bundle may serve production needs; it does not by itself establish a complete first application kit.
Check removal supplies explicitly. For example, Olive & June lists a removal kit in its Press-On System bundle. That describes the named bundle, not every individual nail set from the same brand. Use these five checks for the exact box you are considering.
- Fit: find the size chart or ask about a sizing sample. Check sizes for both hands and the actual length; a large piece count cannot settle those questions.
- Attachment: identify liquid nail glue, separate tabs, or pre-applied adhesive. If the kit uses curing gel, check its complete system requirements rather than assuming the word gel describes ordinary glue.
- Tools: compare the written pack list with the instructions, including preparation supplies. Identify what you already have and what this exact routine still requires.
- Removal: locate the specified process and any remover or tools it needs. Include separately purchased essentials when comparing the total cost of two kits.
- Directions: find the manufacturer’s application, removal, warnings, and storage information before buying. Ask about missing or conflicting instructions before choosing the kit.
Which press-on nail equipment do you actually need?
A small file, wooden stick, or prep wipe may be included, but these are not universal requirements. Use each item only as directed. In particular, a stick is not a lever for forcing off a nail, and an included buffer is not permission to aggressively thin your natural nail.
It helps to make two lists before you begin: what is physically in the package and what the instructions require. The difference between those lists is what you still need. Keep the original packaging nearby so you can identify the adhesive later.
List each required item under three headings: included, already owned and suitable, or still needed. Keep optional conveniences separate. A nail holder, decorating stand, lamp, and electric file do different jobs; collecting more equipment does not make a finished glue-on set more complete.
| Your task | Equipment decision |
|---|---|
| Attach a finished glue-on or tab set | Use the set’s documented preparation, attachment, and removal supplies; a curing lamp is not part of ordinary glue or tab attachment. |
| Decorate blank tips | Check suitable holders and the exact coating system; a gel coating may need its specified lamp even when the finished nails later attach with tabs. |
| Use a light-cured extension system | Check the complete matching tip, adhesive, lamp, and preparation requirements, including anything sold separately. |
| Make sets for customers | Use a separate production, labeling, and packaging checklist rather than treating one application kit as a business setup. |
A complete plan includes removal
Removal supplies are easy to overlook because the finished manicure gets most of the attention. Read the removal directions before application. A tab system and a glue system can call for different methods, and a remover that preserves one type of press-on may alter another.
Do not assume that a household soaking recipe works with every adhesive. Have the specified removal supplies available and leave enough time to use them. Never pull or pry off an attached nail. If reuse matters to you, look for explicit cleaning and reuse instructions rather than a general reusable label.
The final check before opening the adhesive
Lay out ten well-fitting nails in finger order. Confirm that you understand which end faces the cuticle and which is the free edge. Check that the written directions are legible and specific to your product.
FDA advises following nail-product labels and warnings. Skip application on damaged nails; the American Academy of Dermatology cautions that covering existing problems can make them worse. This guide explains kit contents and does not establish the safety or performance of an individual product.
When kit means a different kind of setup
A ready-to-wear manicure kit, a maker’s supplies, and a lamp-cured extension system serve different purposes. Use the contents checklist here for a conventional set, then consult the relevant guide if the bundle introduces a lamp, bulk blank tips, or customer packaging.
- Understand press-on kits with UV or LED lamps
- Plan a professional or business press-on kit
- Read kit offers on Amazon
- Distinguish preparation kits on Meesho
- Put together a personal DIY kit with clear blanks
- Check the contents and equipment of an Aprés Gel-X kit
- Compare nail sets and accessories inside an advent calendar
A few common questions
Does every press-on nails kit include glue?
No. A kit may include glue, adhesive tabs, pre-attached adhesive, or no adhesive. Read the written contents and application directions.
Does a higher nail count mean more full sets?
Not necessarily. You need the correct sizes for all ten fingers, so repeated sizes and your individual fit determine the usable combinations.
Do I need a UV lamp for a press-on kit?
A conventional glue or adhesive-tab kit does not call for a curing lamp. Check the exact system; gel-curing products have different requirements and should not be treated as ordinary press-ons.
Sources & reading notes
This guide explains general considerations. Product labels and instructions vary, so check the specific kit and adhesive you use.
Get to know Kittiva.
Explore the designs and kit details on the brand’s own website. Check current contents and delivery availability before choosing.
Read our Kittiva spotlightThis editorial project supports Kittiva.